发布自己的 python 包到 Pypi (Distributing Python Modules)
将要发布的包的目录结构如下
|
|
真正要安装到 site-packages 的是cocotbextPlotData, 这个目录名字不能有特殊符号如 -, 否则 import 的时候会报错
可以看到不需要 setup.py 不需要 setup.cfg, 也不需要 MANIFEST.in, 只需要一个 pyproject.toml 即可
配置文件
👿注意: 以下两种方式只能选其中一种, 否则会卡在pip 安装上
pyproject.toml
这是构建包的配置文件, 内容如下:
关于如何编写 pyproject.toml 可以参考 writing-pyproject-toml
😢 注意: 使用这种方式配置, 然后pip -e 本地安装的话, 在使用LSP 补全的时候会有问题 ( 不认识这个包 ), 原因是
使用 pyproject.toml 来引导pip 以开发模式安装的包在site-packages 里使用了新的链接方式, python 的LSP server 如 ruff 暂时还不支持这种方式

这种方式是生成一个.pth 来记录源包的路径, 然后使用一个finder.py 来查找
旧的方式( 使用 setup.cfg ) 来安装的产生的是下面这种文件:

如果想以开发模式安装又有LSP 补全需求的话, 最好还是使用老的配置文件, 可以参考 setup.cfg setup.py MANIFEST.in
|
|
-
build-system
这一项指定编译工具, 这里选择 setuptools, 除了这个还可以选择 Hatchling, Flit, PDM

-
project
这一项主要指定项目相关的内容
其中 readme 只支持三种格式(.md, .rst, .txt), 并不支持orgmode 格式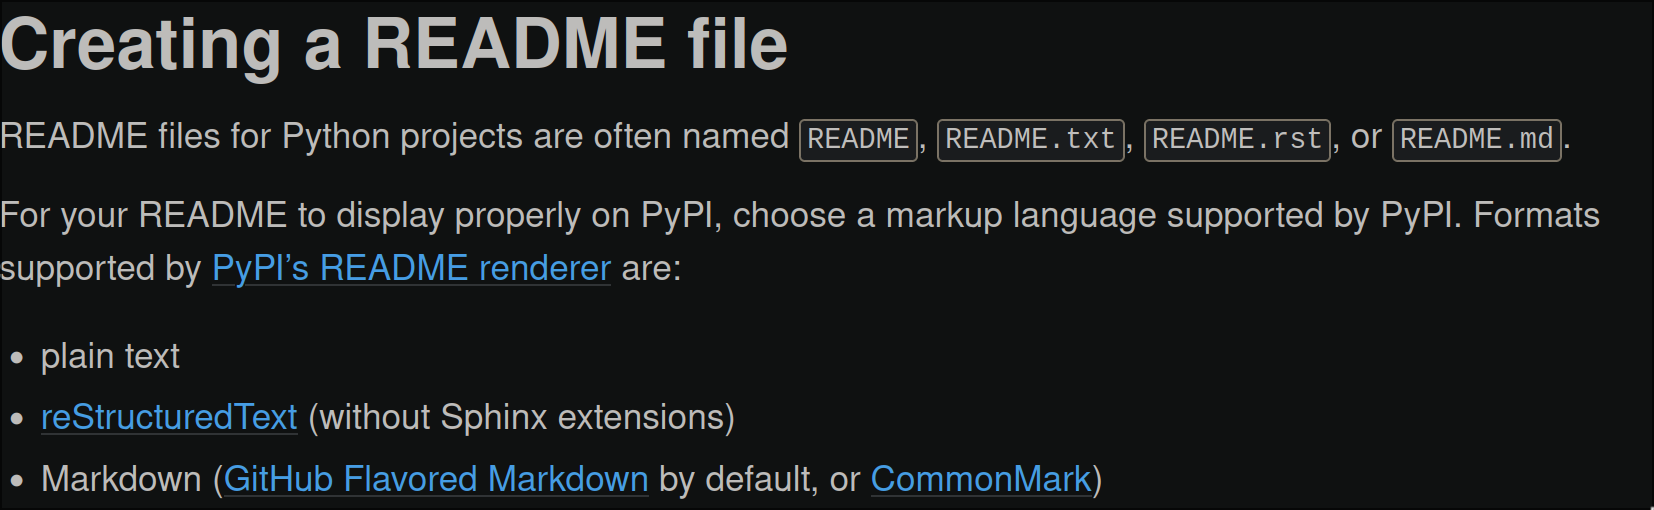
description 只支持短的, 不支持long description 即在PYPI 主页显示包的时候没有长的说明
-
project.urls
这一项指定链接, 这样在pypi 页面可以直接跳转到你的个人仓库
-
tool.setuptools
setuptools 的配置
-
tool.setuptools.package-data
添加资源文件
cocotbextPlotData = [".org", “.ttf”]
的意思是把cocotbextPlotData 文件夹下的所有 .org 和 所有 .ttf 加入到资源文件列表,
这样在install 的时候会把这些资源文件也一起拷贝到包内
参考: datafiles
setup.cfg setup.py MANIFEST.in
-
setup.py
固定内容即可
1 2from setuptools import setup setup()
-
setup.cfg
1 2 3 4 5 6 7 8 9 10 11 12 13 14 15 16 17 18 19 20 21 22 23 24 25 26 27 28 29 30 31 32 33 34 35 36 37 38 39 40 41 42 43 44 45 46 47 48 49 50 51 52 53 54 55 56 57 58 59 60 61 62 63 64 65 66 67 68 69 70 71 72 73 74 75 76 77 78 79 80 81 82 83 84 85 86 87 88 89 90 91 92 93 94 95 96 97 98 99 100 101 102# package information [metadata] name = #当前setup.cfg 所在的目录名 version = 0.1 description = XXX modules for cocotb keywords = xxx, cocotb author = xxx author_email = example.com # license = MIT # url = https://github.com/alexforencich/cocotbext-i2c project_urls = Bug Tracker = https://example.com Source Code = https://example.com download_url = https://example.com long_description = file: README.md long-description-content-type = text/markdown platforms = any classifiers = Development Status :: 4 - Beta Framework :: cocotb Operating System :: OS Independent Programming Language :: Python :: 3 Topic :: Scientific/Engineering :: Electronic Design Automation (EDA) [options] packages = find_namespace: python_requires = >=3.8 install_requires = cocotb [options.extras_require] test = pytest cocotb-test [options.packages.find] include = cocotbext.* # pytest configuration [tool:pytest] testpaths = tests addopts = --import-mode importlib # tox configuration [tox:tox] envlist = py38, py39, py310, py311 [gh-actions] python = 3.8: py38 3.9: py39 3.10: py310 3.11: py311 [testenv] setenv = COVERAGE=1 deps = pytest pytest-xdist cocotb-test coverage pytest-cov commands = pytest --cov=cocotbext --cov=tests --cov-branch -n auto bash -c 'find . -type f -name "\.coverage" | xargs coverage combine --append' whitelist_externals = bash # combine if paths are different [coverage:paths] source = cocotbext/ /*/cocotbext # do not report dependencies [coverage:report] omit = .tox/* # flake8 configuration [flake8] exclude = .git .tox *.egg build max-line-length = 119 ignore = E123 # closing bracket does not match indentation of opening bracket's line E126 # continuation line over-indented for hanging indent E128 # continuation line under-indented for visual indent E221 # multiple spaces before operator E226 # missing whitespace around arithmetic operator E241 # multiple spaces after ',' E262 # inline comment should start with '# ' W503 # line break before binary operator W504 # line break after binary operator per-file-ignores = __init__.py:F401
-
MANIFEST.in
这个文件填写需要打包的资源文件
1 2 3include LICENSE include README.md recursive-include tests Makefile test_*.py test_*.v
包内容
__init__.py
这个文件可以是空的, 也可以加入一些import 的信息, 方便别人import
|
|
plotData.py
主程序
README.org
sarasa-mono-sc-regular.ttf
这是字体文件, 即资源文件, 如果python 包中没有用到, 可以不要
构建包
本地安装
|
|
本地可编辑安装
|
|
这种安装方式相当于在site-packages 内建了个软链接
测试
|
|

发布到 test Pypi
注册pypi
到 https://test.pypi.org/account/register/ 注册登录
注册完还要生成 recover code 和激活 2FA 才能生成 api token
-
test pypi recover code
如果忘记密码, 可以使用上面任意一个来重新登录
-
添加 ~/.pypirc 文件
里面填入
1 2 3[testpypi] username = __token__ password = api_tokenpassword 里面填入api token, 这样使用 twine 上传包时就不需要手动输了
安装 twine
|
|
这个用于把本地编译好的包上传到 Pypi
安装 build
|
|
这个用于把包编译成二进制
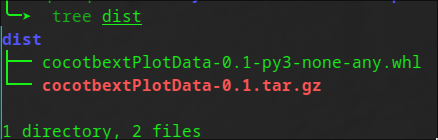
编译二进制
|
|
这会生成 dist 文件夹
发布
|
|
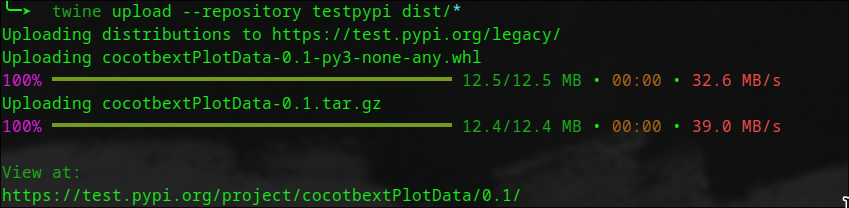
在testpypi 网页上可以看到
测试安装
|
|

发布到 PyPi
Pypi 的 Recover code 如下:
修改 ~/.pypirc
添加以下内容
|
|
编译二进制
|
|
发布
|
|
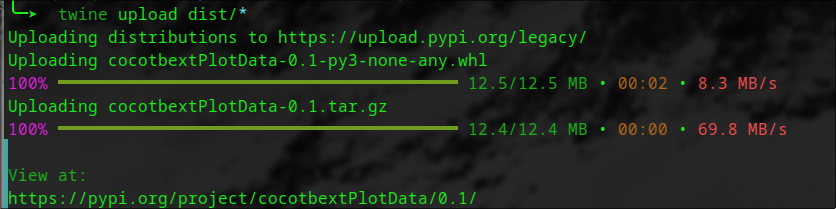
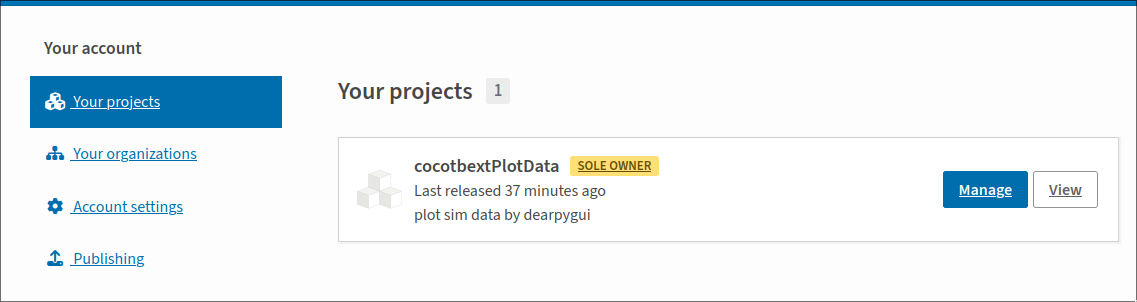
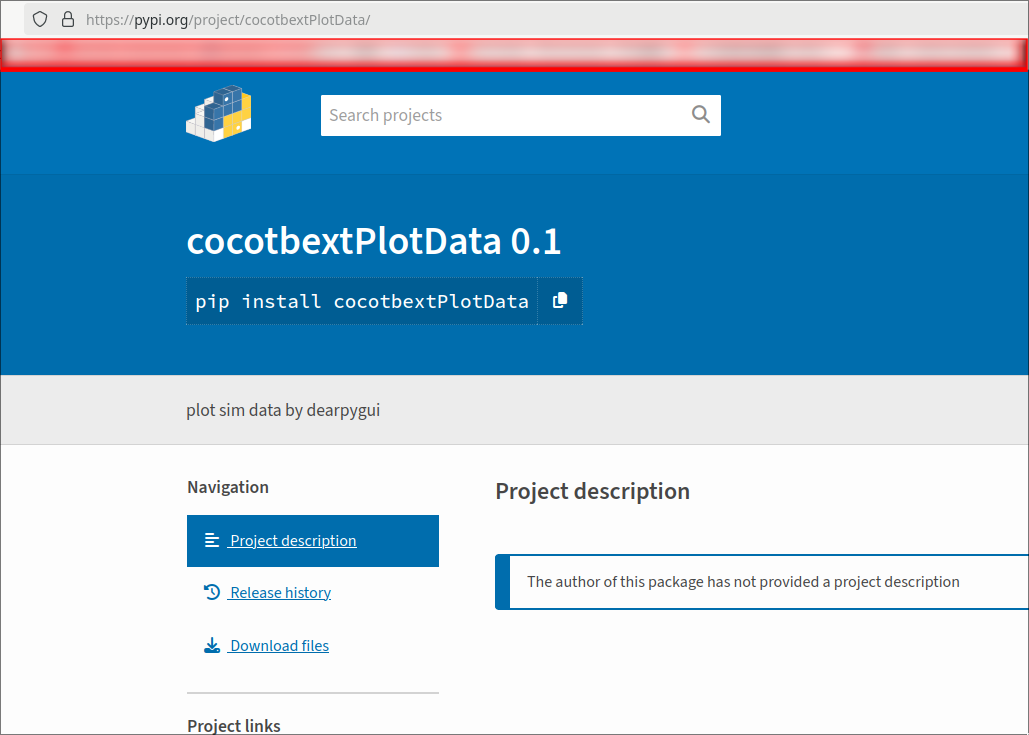
这时已经可以在 PyPi 看到包了, 但是还搜不到, 不清楚啥情况, 可能是延时?
测试安装

其中的pip3iu 是我写的一个函数, 相当于 pip3 install xxx -user